
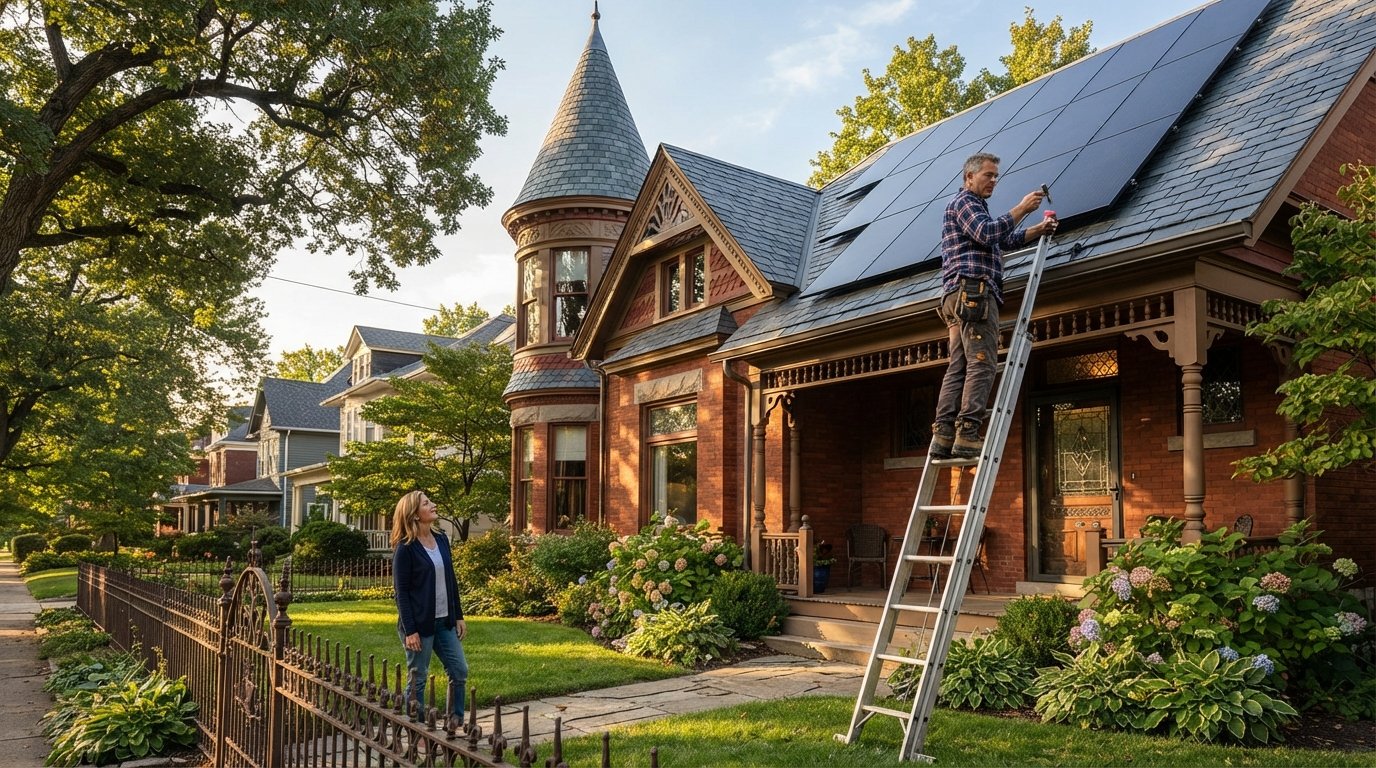
Solar on Historic Homes: Unique Roof Solutions
Learn how solar panel installation on historical homes unique roofs can work with the right approach, local approvals, and specialized installers.

By Benjamin Taylor
Learn more about Solar Panel Installation and Repair for guides, costs, and what to expect.
Compare Solar Panel Installation and Repair Pros Near You

Enter your ZIP code to compare top-rated local professionals and request free quotes.
Owning a historic home is a commitment to preserving a piece of the past, but it does not mean you have to sacrifice modern energy efficiency. For many homeowners, the idea of solar panel installation on historical homes unique roofs feels like a contradiction: how can you honor the architectural integrity of a century-old roof while embracing cutting-edge renewable technology? The good news is that with careful planning, the right technology, and a collaborative approach, you can have both. This guide walks you through the process, the pitfalls, and the possibilities of adding solar to a heritage property, ensuring you protect your investment and lower your energy bills for decades to come.
Why Historic Homes Are Ideal Candidates for Solar (Despite the Challenges)
It might surprise you to learn that older homes are often excellent candidates for solar energy. Built before the era of central air conditioning and modern insulation, many historic homes have expansive, unobstructed south-facing roof planes. These roofs were designed to capture natural light and heat, a passive solar design principle that translates perfectly to active solar generation. The orientation and pitch of these roofs mean they can often produce more energy per panel than a newer, more complex roofline.
However, the challenges are real. Historic districts and local landmark commissions have strict guidelines to protect the visual character of neighborhoods. These rules often restrict what you can place on a roof, especially if it is visible from the street. Additionally, the roofing materials themselves may be fragile, irreplaceable, or structurally unsound after decades of service. The key is to approach solar panel installation on historical homes unique roofs as a specialized project, not a standard retrofit. You need to balance energy production with preservation, and that requires a different mindset and a different set of tools.
Navigating Local Regulations and Historic District Approvals
Before you even contact an installer, your first step is to understand your local regulatory landscape. If your home is a designated landmark or sits within a historic district, you will likely need a Certificate of Appropriateness (COA) or a similar review from your local preservation commission. This process is not designed to block solar, but to ensure the installation is as unobtrusive as possible. In fact, many states and municipalities have solar access laws that prevent homeowners associations and local governments from outright banning solar panels, but they can still regulate their placement, color, and finish.
To get approval, you will need a detailed plan. This should include the exact panel layout, the mounting system, the color of the panels and racking, and how the wiring will be concealed. Be prepared to work with the commission to adjust your plans. Common compromises include using panels that are flush with the roof surface, avoiding front-facing roof planes, or using lower-profile mounting systems. Building a good relationship with the commission early can make the process smoother. They are your partners in preservation, and showing that you respect the home's character goes a long way.
Understanding the Solar Access Laws in Your State
While historic commissions can impose aesthetic conditions, they cannot arbitrarily deny your right to solar energy. Most states have enacted solar easement or solar access laws that protect a homeowner's right to install a system, provided it meets reasonable health, safety, and aesthetic standards. This means the commission cannot simply say "no" because they prefer the look of a bare roof; they must provide a specific, reasonable justification for any denial or modification. Knowing your rights under these laws is crucial. It empowers you to negotiate from a position of strength, not confrontation. A quick search for your state's solar access policy will give you the exact language you need to reference.
Choosing the Right Solar Panel System for a Historic Roof
Not all solar panels are created equal, and for a historic home, the visual difference between panel types is significant. Traditional panels with silver frames and blue cells can clash with a slate or terracotta tile roof. Fortunately, the solar industry has evolved to offer more aesthetically sensitive options.
Here are the most viable options for a heritage property:
- Architectural or All-Black Panels: These panels feature black frames and black cells, creating a sleeker, more uniform look that blends better with dark roofing materials like slate or aged asphalt shingles.
- Building-Integrated Photovoltaics (BIPV): These are solar tiles or shingles that replace your existing roofing material entirely. They mimic the look of slate or clay tiles while generating electricity. They are the most aesthetically seamless option but also the most expensive.
- Low-Profile Flush Mounts: Instead of standard racking that sits a few inches above the roof, low-profile mounts position the panels as close to the roof surface as possible, minimizing their visual impact.
When choosing between these options, consider the payback period. BIPV systems are significantly more costly upfront, but they double as a roof replacement, which can offset the overall expense of a new roof if you needed one anyway. All-black panels offer a middle ground, providing good efficiency at a moderate premium. Your choice should be guided by both your budget and the strictness of your local historic review board.
The Critical Role of Structural Integrity and Roof Condition
A historic roof has weathered decades of sun, wind, rain, and snow. Before any solar equipment is attached, a structural engineer must assess its condition. Roof rafters in older homes were often spaced wider apart and may not be sized to handle the additional wind and snow loads of a solar array. You may need to reinforce the roof structure from the inside, which can add significant cost and time to the project.
Furthermore, solar panels are designed to last 25 to 30 years. If your roof only has 10 years of life left, you will need to replace it before installing solar, or you will face the costly task of removing and reinstalling the panels when the roof fails. For historic homes, this means working with a roofer who specializes in period-appropriate materials. You may be required to use specific slate, tile, or cedar shakes to maintain the property's character. This is not a job for a general roofer; you need a specialist who understands the nuances of old materials and can ensure a watertight, code-compliant installation that will protect your home for another century.
Installation Techniques: Mounting to Unique Roof Surfaces
Mounting solar panels on a flat asphalt shingle roof is routine. Mounting them on a standing seam metal roof, clay tile, or slate is a different beast entirely. Each material requires a unique mounting solution to avoid damage. For slate or tile roofs, installers must use specialized tile hooks that slip under the existing tiles and are secured directly to the rafters. This method avoids drilling through the tiles themselves, which would void their warranty and create leak points. The process is labor-intensive and requires great skill to avoid cracking the brittle materials.
For metal roofs, clamps can be attached to the standing seams without any roof penetration. This is often the least invasive method. For older asphalt shingle roofs, installers use a flashing system with a sealant to waterproof the penetration points. However, on a historic home, the roof may have an irregular pattern or non-standard dimensions, which means off-the-shelf mounting hardware may not fit. A skilled installer will need to fabricate custom brackets or adapt standard components on-site, a process that demands creativity and experience. Always ask your installer about their experience with your specific roofing type before signing a contract.
Electrical Integration and Aesthetic Wiring Solutions
One of the biggest eyesores on a solar installation is the wiring. On a modern home, exposed conduit on the exterior is often acceptable, but on a historic home, it is a dealbreaker. Historic review boards will almost always require that all wiring be concealed. This can be achieved by routing DC cables through the attic and down through the interior walls to the inverter, or by using a system that converts DC to AC directly in the panel (microinverters) and then runs a single AC wire, which is easier to conceal.
You will also need to decide where to place the inverter and the main utility disconnect. These are large pieces of equipment that should be placed in a discreet location, such as a basement, garage, or on a side wall that is not visible from the street. Some modern systems use power optimizers and string inverters that can be installed in the attic, keeping all visible equipment off the exterior. Planning the electrical path is a crucial part of the design phase. A well-executed installation is virtually invisible from the street, preserving the home's facade while still delivering all the benefits of solar.
Financial Incentives, Tax Credits, and Payback Period
The cost of a solar installation on a historic home will almost certainly be higher than a comparable system on a modern house. However, the financial picture is still compelling. You are eligible for the federal Investment Tax Credit (ITC), which currently covers 30% of the total system cost, including installation and equipment. Many states and municipalities offer additional rebates, property tax exemptions, and net metering programs that credit you for excess energy you send back to the grid. Furthermore, the additional cost of using BIPV tiles can sometimes be partially justified by the fact that they replace a roof you would have had to pay for anyway.
To calculate your potential payback period, you need to consider your current electricity rates, the amount of sunlight your roof receives, and the final cost of the system after incentives. For many historic homeowners, the payback period is still between 6 and 12 years, after which the system generates free electricity for the remainder of its 25 to 30 year lifespan. This long-term savings can offset the higher upfront costs. For a detailed analysis of your specific situation, you can use a solar cost calculator, but you should also get multiple quotes from installers who are experienced with historic properties.
Working with a Specialized Solar Installer
Finding the right installer is the most critical step. A standard solar company may not have the skills or patience to work with a historic property. You need a contractor who has a portfolio of similar projects and can provide references from other historic homeowners. They should be comfortable working with your local preservation commission and can even help you prepare your application. Ask them about their experience with your specific roofing material and how they handle the unique challenges of old construction.
During the consultation, they should conduct a thorough site assessment, including a structural review and a detailed analysis of your roof's exposure. They should also be transparent about the potential for unforeseen issues, such as discovering dry rot or structural weaknesses once the installation begins. A good installer will build a contingency plan into their quote. For more guidance on what to look for, you might find our article on solar for new homes evaluation helpful, as it outlines key questions to ask any installer, even if your home is not new.
Case Studies: Successful Solar Installations on Historic Homes
Across the country, homeowners have successfully navigated this process. In Charleston, South Carolina, a homeowner with a classic single-house installed all-black panels on the rear roof plane, completely invisible from the street, and used a ground-mounted inverter hidden in a period-appropriate shed. In Philadelphia, a row house owner used BIPV slate tiles that were indistinguishable from the surrounding original slate. These projects show that with creativity and persistence, you can achieve your energy goals without compromising your home's soul.
One key takeaway from these successes is the importance of community. Neighbors and local preservation groups can be powerful allies. By presenting your project as a model for sustainable preservation, you can often win support that smooths the approval process. Documenting the entire process and sharing it can also help other historic homeowners who are considering similar upgrades.
Comparing Your Options: Full System vs. Alternative Approaches
If a full rooftop solar installation proves to be too restrictive or costly, you have other options. A ground-mounted solar array in a backyard is often a viable alternative, provided you have the space. This allows you to position the panels freely for maximum sun exposure and eliminates any impact on the historic roof. Another option is to install a smaller system that meets only a portion of your electricity needs, such as a few panels to power your water heater or an EV charger. While less comprehensive, this can still make a meaningful dent in your utility bills.
You might also consider community solar programs, where you subscribe to a shared solar farm and receive credits on your electric bill. This does not require any installation on your property at all, making it a zero-impact option for historic homes that are particularly sensitive. Each of these alternatives has its own trade-offs in cost, savings, and convenience. Weigh them carefully against your primary goal of reducing your carbon footprint and energy costs.
The Bottom Line: Is It Worth It?
Solar panel installation on historical homes unique roofs is undeniably more complex than a standard installation. It requires more time, more money, and more patience. Yet, the rewards extend beyond financial savings. You are contributing to a sustainable future while ensuring your home remains a beautiful, functional piece of history. The process forces you to be more thoughtful, and the result is a system that is truly integrated into the architecture, not just bolted on. Many homeowners find that the pride of achieving this feat is worth the extra effort.
To get started, your first step is to seek a consultation with a specialized installer. They can assess your roof, discuss your options, and help you navigate the approval process. You can also take advantage of free, no-obligation quotes from vetted providers, which is an excellent way to compare approaches and costs. For additional research, you can consult resources like NewSolarQuotes, which offers educational content on solar technology and financing. With the right team and the right plan, your historic home can become a model of energy efficiency for the 21st century, proving that preservation and innovation can indeed coexist.