
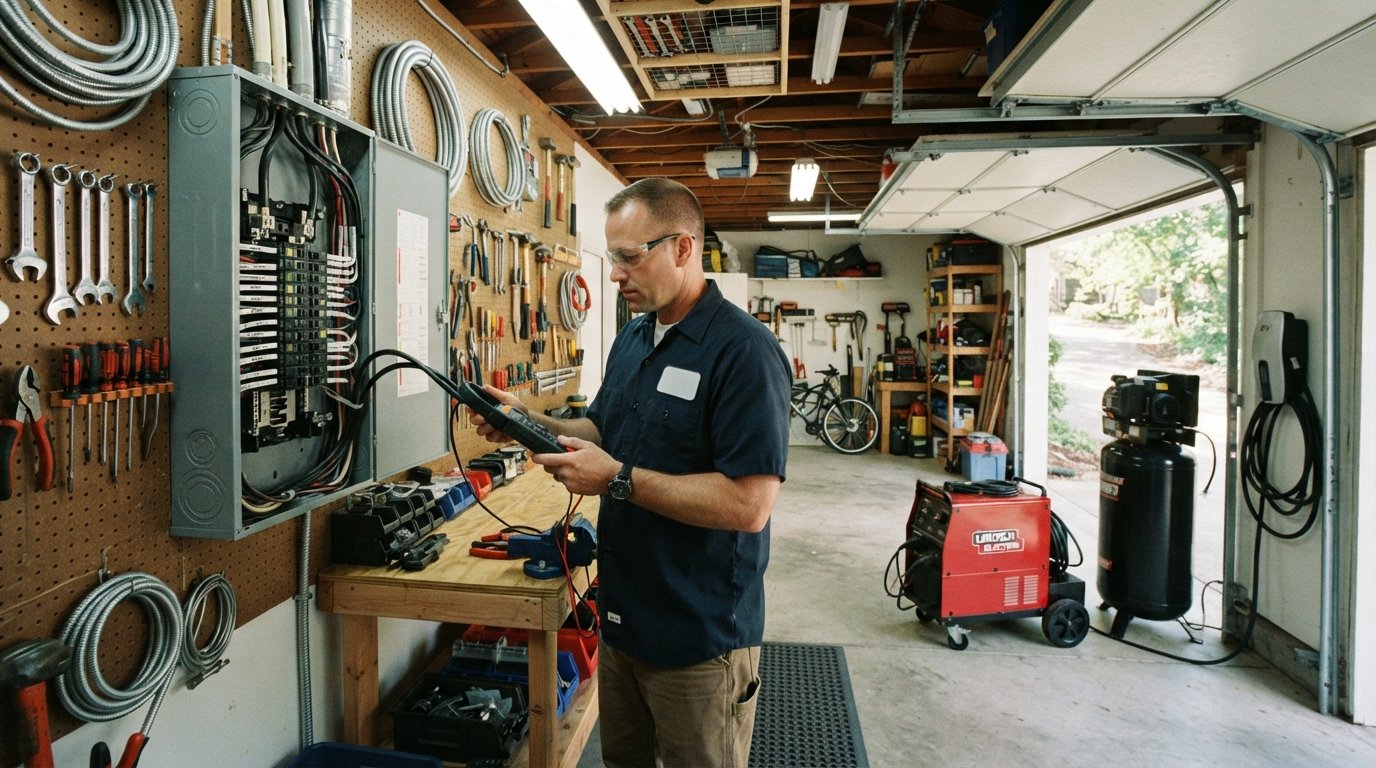
Solar Plus Workshop and Garage Subpanel Load Planning
Plan your solar plus workshop and garage subpanel load with confidence. Call (833)-793-7166 for expert guidance and free quotes.

Learn more about Solar Panel Installation and Repair for guides, costs, and what to expect.
Compare Solar Panel Installation and Repair Pros Near You

Enter your ZIP code to compare top-rated local professionals and request free quotes.
Your detached garage or workshop is more than a place to park the car. It is a second home for projects, repairs, and perhaps the occasional welding session. But when you decide to add solar and upgrade that outbuilding's electrical service, the planning process can feel overwhelming. Load calculations, subpanel sizing, battery decisions, and permit requirements all collide. This guide breaks down solar plus workshop and garage subpanel load planning into clear, actionable steps so you can power your shop with confidence and avoid costly mistakes.
Why Load Planning Comes First
Solar panels and inverters are only part of the equation. The real work begins with understanding how much electricity your workshop actually demands. A detached garage often has a small existing subpanel, perhaps 60 amps or 100 amps, that was never designed for high-draw equipment like welders, air compressors, or EV chargers. If you add solar without properly sizing the subpanel and feeder, you risk tripping breakers, overheating wires, or failing inspection.
Load planning answers three questions: How much power do your tools and future equipment require? How much solar generation and battery capacity will meet that demand? And what electrical upgrades are needed to deliver that power safely? Skipping this step is like building a house without a foundation. The good news is that with a systematic approach, you can design a system that supports your current needs and leaves room for growth.
Calculating Your Workshop Load
Start by listing every piece of equipment you plan to run, both now and in the next five years. For each item, note its running watts and starting watts. Some tools, like lights and hand drills, have modest continuous draws. Others, like welders and compressors, have high inrush currents that can be several times their running load. You need to account for both.
Here are the typical high-draw loads found in workshops and garages:
- Welders: A 240V MIG welder might draw 30 to 50 amps while welding, but the duty cycle matters. A 20% duty cycle means it runs at full load only 20% of the time.
- Air compressors: A 5 HP compressor can draw 20 to 25 amps at 240V and has a significant startup surge.
- EV chargers: Level 2 chargers typically draw 32 to 48 amps continuously, making them one of the largest sustained loads.
- Table saws, jointers, and planers: These stationary power tools often draw 10 to 20 amps at 120V or 240V.
- Lighting and outlets: General lighting and small tools add up, especially if you have multiple people working.
To calculate your total load, use the National Electrical Code (NEC) demand factors. For a workshop, you typically take the largest motor load at 100% and add 25% to the largest motor for starting. Other loads are added at their nameplate ratings, but you can apply demand factors if you never run everything simultaneously. However, for solar and battery sizing, it is safer to assume a realistic peak load that includes the tools you might run together. A licensed electrician can perform a formal load calculation using NEC Article 220, but you can create a working estimate with a simple spreadsheet.
For example, imagine a workshop with a 50-amp welder, a 25-amp compressor, a 40-amp EV charger, and 20 amps of lighting and outlets. If you assume the welder and compressor never run at the same time, your peak might be 50 + 40 + 20 = 110 amps at 240V. That translates to roughly 26.4 kW of demand. That is a substantial load that will influence both your solar array size and your subpanel rating.
Sizing the Subpanel and Feeder
Once you know your peak load, you can size the subpanel and the feeder conductors that run from your main service panel to the garage. The subpanel must have a bus rating equal to or greater than the feeder breaker. Common subpanel sizes are 100A, 125A, 200A, and 225A. If your calculated load is 110A, a 125A subpanel with a 125A feeder breaker is the minimum, but many electricians recommend going up one size to 200A for future flexibility.
The feeder conductors must be sized according to the breaker rating and the distance from the main panel. Voltage drop becomes a concern for long runs. A 200A feeder at 240V over 100 feet might require 2/0 copper or 4/0 aluminum to keep voltage drop under 3%. This is a significant cost, so it is worth planning carefully. If you are adding solar, you may also need to consider where the solar inverter or battery connects. Some systems tie into the main service panel, while others use a line-side tap or a dedicated solar subpanel. The interconnection point affects the feeder design and the equipment you need.
If your existing subpanel is only 60A or 100A, you will likely need to upgrade it to support high-draw tools and an EV charger. Upgrading a subpanel involves replacing the panel, pulling new feeder wires (which may require trenching if the conduit is undersized), and updating the grounding and bonding. This is not a DIY project for most homeowners. A licensed electrician will ensure the installation meets code and passes inspection.
Battery vs Grid-Tie for Intermittent High-Draw Loads
Solar alone can offset your energy consumption, but it does not provide backup power during an outage unless you have a battery. For a workshop with intermittent high-draw tools, the decision between battery backup and grid-tie-only depends on your priorities. A grid-tie solar system without a battery is simpler and less expensive. It reduces your electric bill by net metering, but if the grid goes down, your solar system shuts off for safety reasons. That means no power for your welder or compressor during an outage.
A battery system can provide backup power, but you must size it to handle the surge loads of your tools. Most lithium-ion batteries have a continuous power rating and a peak power rating for a few seconds. A 10 kWh battery might deliver 5 kW continuously and 7 kW for a short surge. A welder that draws 8 kW running and 12 kW starting would exceed that battery's capability. You would need a larger battery or a load management system that sheds non-essential loads when the welder starts.
For many homeowners, a grid-tie system with a small battery for critical loads (lights, refrigerator, internet) is sufficient. The workshop's high-draw tools run on grid power, and the solar offsets the cost. If you frequently experience outages and need to keep working, a larger battery plus a generator might be the answer. The key is to match the battery's surge rating to your equipment's startup demand. A professional load analysis will help you decide.
EV Charger Planning in a Detached Garage
Adding an EV charger to a detached garage is one of the most common reasons for a subpanel upgrade. Level 2 chargers require a dedicated 240V circuit, typically 40 to 60 amps. If you already have a 100A subpanel and add a 40A charger, you may exceed the panel's capacity when other loads are running. That is why load planning must include the EV charger from the start.
There are several strategies to manage EV charging load. You can use a smart charger that communicates with your solar system and only charges when excess solar production is available. This reduces grid draw and maximizes self-consumption. Alternatively, you can install a load management device that pauses EV charging when the welder or compressor turns on, preventing overload. Some utilities offer time-of-use rates that make overnight charging cheaper, so you might not need solar to cover the EV load directly.
When planning the subpanel, allocate a dedicated breaker space for the EV charger. If you are upgrading to a 200A subpanel, you can comfortably support a 50A EV charger plus other shop loads. Remember that the NEC requires the charger circuit to be sized at 125% of the continuous load. A 40A charger needs a 50A circuit. Always consult a licensed electrician to ensure your panel and feeder can handle the additional load.
Permitting and Inspection for Outbuildings
Electrical work in detached garages and workshops is subject to local building codes and permit requirements. Most jurisdictions require a permit for subpanel upgrades, new circuits, and solar installations. The permitting process typically involves submitting a load calculation, a wiring diagram, and equipment specifications. Inspectors will verify that the work meets the NEC and local amendments.
One common pitfall is failing to obtain a permit for a subpanel upgrade. If you later sell your home, an unpermitted electrical panel can cause problems with the buyer's inspection and may need to be removed or brought up to code. Solar installations also require permits and utility interconnection agreements. Your solar installer will usually handle the paperwork, but you should confirm that the subpanel work is included in the scope.
Inspection considerations include proper grounding and bonding of the subpanel (usually a 4-wire feeder with separate ground and neutral bars), conduit sizing, and clear working space around the panel. If you are adding a battery, the inspector will check for ventilation, fire separation, and disconnect requirements. It is wise to have a pre-inspection meeting with your electrician and the local building department to avoid surprises.
Integrating Solar with Your Shop's Electrical System
Solar panels can be mounted on the garage roof or a nearby ground mount. The inverter converts DC power to AC and feeds it into your electrical system. The point of interconnection is critical. If you have a main service panel with a busbar rating that can accommodate the solar breaker, you can tie in there. Otherwise, you may need a line-side tap or a separate solar panel. The solar plus workshop and garage subpanel load planning process must account for this interconnection.
When you request free solar quotes, be prepared to share your load calculation and subpanel details. Installers will use that information to design a system that meets your needs. If you are unsure where to start, our guide on how free solar quotes work explains the process and what to expect. A reputable installer will perform a site assessment, verify your panel capacity, and propose a system size that matches your consumption.
Also consider the physical space for solar equipment. Inverters and batteries are often mounted on the garage wall. Ensure there is adequate clearance and ventilation. If you are planning a future move, keep in mind that solar adds value to your property, but the equipment must be properly permitted and installed. For resources on moving and home upgrades, you might find Moving.Homes helpful for relocation checklists and advice.
Step-by-Step Load Planning Checklist
To keep your project on track, follow this sequence. It will help you coordinate with electricians, solar installers, and inspectors.
- Inventory your equipment: List every tool and appliance, noting running and starting watts. Include future purchases like an EV or a larger compressor.
- Calculate peak demand: Use NEC guidelines or an electrician's help to determine your realistic maximum load.
- Assess existing subpanel and feeder: Check the panel rating, breaker size, and wire gauge. Determine if an upgrade is needed.
- Design the solar and battery system: Size the array to offset annual consumption and decide on battery backup for critical loads.
- Plan the interconnection: Choose the point where solar meets your electrical system, ensuring code compliance.
- Obtain permits and schedule inspections: Work with your contractor to submit plans and arrange inspections at each stage.
Each step builds on the previous one. For instance, if you discover that your existing feeder is only 6 AWG copper (good for 60A), you will need to trench and pull larger wire for a 200A subpanel. That cost should be factored into your budget before you finalize the solar design. A thorough load plan prevents costly rework and ensures your system performs as expected.
Common Mistakes to Avoid
Many homeowners underestimate the power demands of workshop tools. A welder that seems modest on paper can draw significant current, especially during startup. Another mistake is assuming that a solar inverter can handle surge loads without a battery. Grid-tie inverters trip offline during outages, so they provide no backup. If you want to run your shop during a blackout, you need a battery and a transfer switch.
Oversizing the solar array without upgrading the subpanel is another pitfall. The solar may produce plenty of energy, but if the subpanel cannot distribute it to your tools, you gain nothing. Similarly, neglecting to plan for an EV charger can lead to a panel that is maxed out shortly after installation. Always leave spare capacity, typically 20% to 25% headroom, for future additions.
Finally, do not skip the permit process. Unpermitted work can void insurance claims and create liability. Inspectors are there to ensure safety, and their approval gives you peace of mind. By following a disciplined planning process, you can create a workshop that is both powerful and safe, with solar energy reducing your operating costs for years to come.
Solar plus workshop and garage subpanel load planning is a detailed but rewarding endeavor. With the right calculations, equipment, and professional guidance, you can transform your garage into an energy-efficient powerhouse. Take the time to plan thoroughly, and you will enjoy a workspace that supports your projects without straining your electrical system or your budget.