
DIY Energy Efficiency Upgrades Before Going Solar
DIY home energy efficiency upgrades before going solar can shrink the system you need and cut costs. Call (833)-793-7166 for free solar quotes.

By Olivia Ingram
Learn more about Weatherization for guides, costs, and what to expect.
Compare Weatherization Pros Near You

Enter your ZIP code to compare top-rated local professionals and request free quotes.
Before you sign a solar contract, there is a quieter decision that can save you thousands: making your home use less power in the first place. Every watt you stop wasting is a watt you do not have to buy from a solar array, and efficiency upgrades often cost far less per kilowatt-hour saved than new panels do. Homeowners who tackle air sealing, insulation, and lighting before requesting quotes routinely shrink the system size they need, which lowers the sticker price, shortens the payback period, and makes financing easier to justify. This guide walks through the do-it-yourself projects that deliver the fastest returns, how to read an energy audit, and how to right-size solar after the work is done.
Why Efficiency Comes Before Solar
Solar panels are priced by capacity, so a drafty house with an oversized air conditioner forces you to buy more panels than you actually need. The Department of Energy estimates that heating and cooling account for roughly half of a typical home's energy use, and much of that escapes through gaps, poorly insulated attics, and leaky ducts. Sealing those leaks is usually cheaper per unit of energy saved than adding solar capacity, and the savings arrive immediately rather than after an installation queue.
There is also a sizing trap that catches eager buyers. If you install solar based on today's inflated usage and then upgrade your insulation a year later, you may end up with a system that produces more power than your home consumes. Depending on your utility's net metering rules, that excess generation may be credited at a lower rate or not at all. Efficiency first means your solar quote reflects the house you will actually live in, not the leaky version you are trying to fix.
Finally, efficiency work strengthens the financial case for solar. A smaller system costs less, which means a smaller loan, a faster break-even point, and less exposure if utility rates or incentive programs shift. If you are still comparing equipment options, our breakdown of the 540 watt solar panel shows how panel wattage choices interact with system size and roof space, which matters more once your load is trimmed.
Air Sealing, Attic Insulation, and Duct Sealing
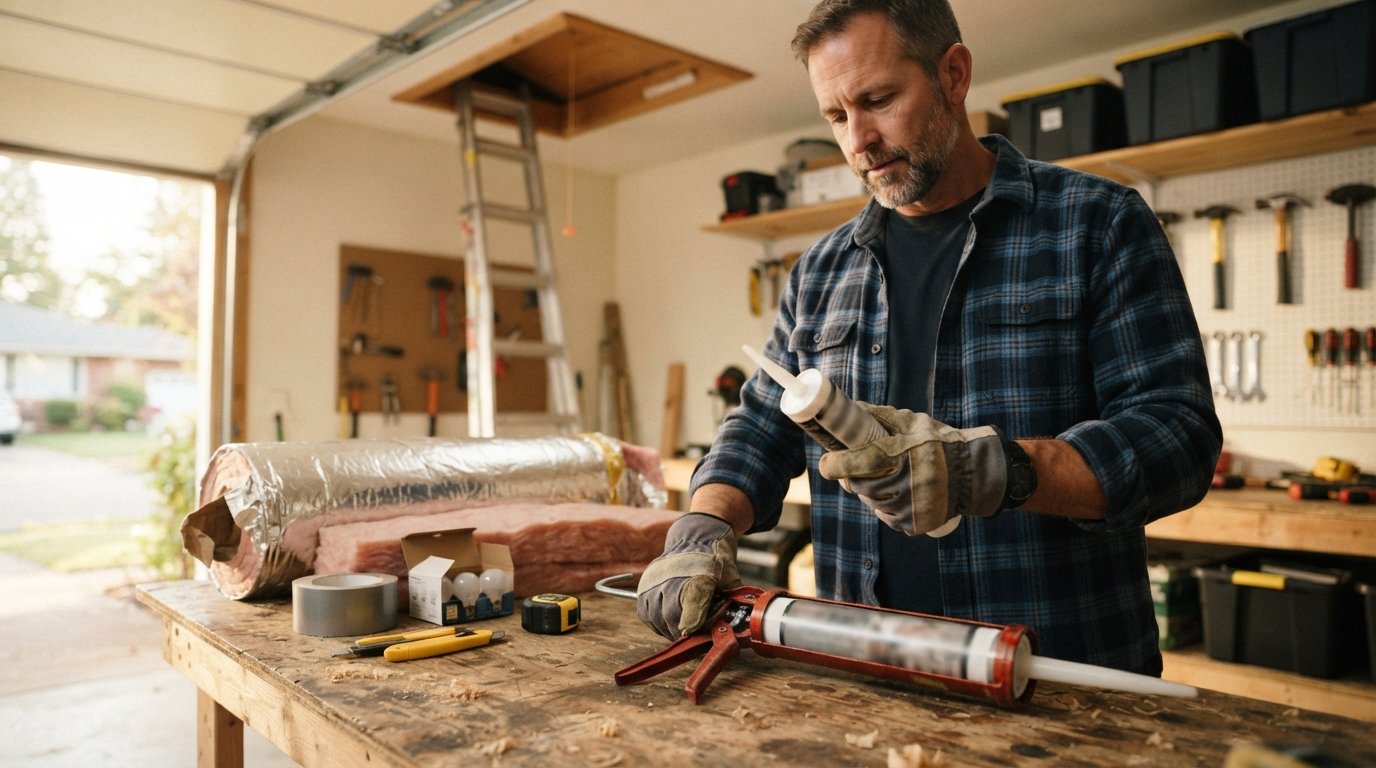
These three projects form the backbone of any efficiency plan, and most of the work is within reach of a careful DIYer. Air sealing targets the hidden gaps around outlets, recessed lights, attic hatches, plumbing penetrations, and rim joists. A $10 can of foam or a tube of caulk can close leaks that add up to the equivalent of an open window year-round. Attic insulation is the next layer: if your attic floor has less than 10 to 14 inches of insulation, adding blown-in fiberglass or cellulose is a weekend project that many homeowners complete with a rented blower.
Duct sealing deserves equal attention because leaky ducts in unconditioned attics can lose 20 to 30 percent of the air your system produces. Metal tape and mastic seal joints and boots, while register boxes and plenum connections are common culprits. Payback expectations vary by climate and starting condition, but air sealing and attic insulation commonly pay back in two to five years, and duct sealing often lands in the same range when ducts run through hot attics. In colder states the returns can be faster, while in mild climates the savings lean more heavily on cooling season performance.
A practical sequence helps you avoid wasted effort. Start with a blower door test if your utility offers one, seal the big obvious gaps first, then add insulation, and finish with duct sealing before you replace any equipment. Doing the envelope work first means a new HVAC system can be sized correctly for a tighter house, which prevents the classic mistake of buying an oversized unit that short-cycles and dehumidifies poorly.
Ranking Lighting, Appliance, and Pool Pump Upgrades by Savings
Not every upgrade deserves the same priority. The smartest approach is to rank projects by kilowatt-hours saved per dollar spent, then work down the list as your budget allows. The table below reflects typical residential outcomes, though your exact numbers depend on local rates and usage patterns.
- LED lighting: Lowest cost per bulb and immediate savings, often 75 percent less energy than incandescent, with payback measured in months.
- Smart thermostats and advanced power strips: Modest cost, meaningful savings from scheduling and eliminating standby load, payback often under two years.
- Refrigerator and clothes washer replacement: Higher upfront cost but strong kWh reductions if your appliances are 15 years or older, payback typically three to seven years.
- Variable-speed pool pumps: The largest single savings opportunity for homes with pools, often cutting pump energy by 50 to 75 percent, with payback in one to three years.
Pool pumps are the sleeper upgrade. A single-speed pump running six hours a day can consume more electricity than everything else in the house combined during summer, and swapping to a variable-speed model is a straightforward DIY replacement for a confident homeowner. Appliance upgrades should follow a simple rule: replace only when the old unit fails or is clearly inefficient, because manufacturing a new appliance carries its own energy cost. Lighting and thermostat upgrades, by contrast, are worth doing immediately because they are cheap, reversible, and compound with every other improvement.
How to Read a Home Energy Audit Report
A professional energy audit turns guesswork into a prioritized plan. The report typically includes a blower door result measured in air changes per hour, an insulation assessment by location, duct leakage findings, combustion safety notes, and a list of recommended improvements with estimated costs and savings. The blower door number is the headline: it tells you how leaky the house is compared with similar homes, and it gives you a baseline to measure against after you seal.
Read the report in order of cost-effectiveness, not in the order the auditor lists items. Look for the annual energy savings column and divide it by the installed cost to get a rough payback, then cross-check against your own priorities. If the report flags health and safety issues such as backdrafting appliances or inadequate ventilation, address those first regardless of payback, because efficiency work can make combustion problems worse in a tighter house.
Action steps after the audit are straightforward. Photograph the report, mark the three highest-return items, and check whether your utility offers rebates for each one before you buy materials. Many programs require pre-approval or use a specific contractor, so a five-minute phone call can protect hundreds of dollars in incentives. Keep your receipts and the audit itself; some rebate programs and tax credits ask for documentation at filing time.
Right-Sizing Solar After Efficiency Upgrades
Once the envelope and equipment work is done, your solar quote should be based on the new, lower consumption profile. Pull twelve months of utility bills after the upgrades settle, ideally including a full summer and winter, and share that history with every installer you contact. A reputable installer will size the array to offset your actual usage rather than a national average, and they will model production against your roof orientation and shading.
Right-sizing also means deciding how much of your bill you want to offset. Offsetting 100 percent of usage sounds appealing, but if you have already cut consumption by 20 percent, a smaller array may deliver a better return because you avoid exporting excess power at unfavorable rates. Ask each installer to show production estimates for two or three system sizes, and compare the marginal cost per additional panel against the marginal savings. For larger projects, or if you are coordinating efficiency work with roof replacement or HVAC upgrades, it helps to plan the whole scope with a contractor who understands sequencing, and resources like ContractorHomeQuotes can help you compare bids and plan the order of work.
Documentation matters here. Keep your audit report, contractor invoices, and post-upgrade utility bills in one folder. When you request solar quotes, mention the efficiency work explicitly, because it signals to installers that your load is stable and your expectations are grounded. It also protects you if a salesperson tries to size a system using outdated usage data.
Which Upgrades Unlock Bigger Rebates
Efficiency upgrades do more than cut consumption; they can unlock larger federal and utility incentives that stack with solar. The federal energy efficient home improvement credit covers a percentage of qualifying insulation, air sealing, windows, doors, and heat pump installations, subject to annual caps, while many utilities offer separate rebates for attic insulation, duct sealing, and smart thermostats. Heat pump water heaters and heat pump HVAC systems often carry the richest combined incentives because they reduce both heating and cooling load.
The solar investment tax credit is separate, but the two categories interact. A tighter, more efficient house may allow a smaller heat pump and a smaller solar array, which keeps you under incentive caps and simplifies paperwork. Always verify current program rules before purchasing, because federal credit terms and utility rebate levels change, and some programs require installation by a participating contractor even when the work itself is DIY-friendly.
To capture the most value, sequence your projects around incentive deadlines. If a utility rebate for attic insulation expires at the end of the year, do that work first and let the solar quote follow. If a heat pump incentive requires an energy audit, schedule the audit before you buy equipment. Treat incentives as part of the project budget, not an afterthought, and confirm eligibility in writing when a program is administered by a third party.
Building Your Upgrade Plan
A sensible DIY efficiency plan fits on one page. Start with a blower-door audit or a utility-sponsored assessment, seal the largest air leaks, add attic insulation to current recommended levels, and seal ductwork in unconditioned spaces. Then move to quick wins: LED bulbs, smart thermostats, and advanced power strips. Replace aging appliances only when they fail, and prioritize a variable-speed pool pump if you have a pool. Track your bills monthly so you can see the impact and use the data when you request solar quotes.
Budget realistically. Most homeowners can complete air sealing and lighting upgrades for a few hundred dollars, attic insulation for several hundred to a couple thousand depending on square footage and whether you DIY the blowing, and duct sealing for a few hundred in materials. The returns compound: each project lowers the load the next one has to address, and the combined effect is a smaller, cheaper solar system that pays for itself faster. If you want a second opinion on system size after your upgrades, request free quotes from vetted installers and compare production estimates side by side.
Efficiency work is unglamorous, but it is the highest-return step most homeowners skip. Do it first, document it carefully, and let your solar array be sized for the home you have improved rather than the one you inherited.
Learn more about Weatherization for guides, costs, and what to expect.
Compare Weatherization Pros Near You
Enter your ZIP code to compare top-rated local professionals and request free quotes.