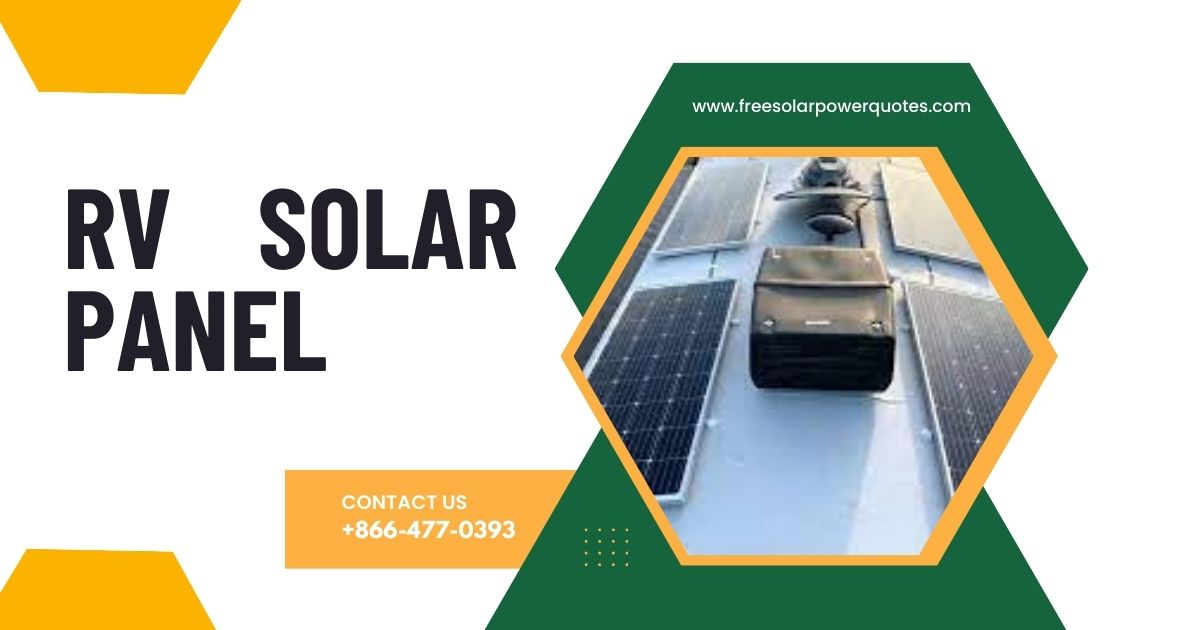
RV solar panels have revolutionized how we travel and explore the great outdoors. As RVing gains more traction, an increasing number of people are choosing to embark on off-grid expeditions, and harnessing the sun’s energy seems like the perfect solution. RV solar panels offer a sustainable and eco-friendly solution to power your RV, enabling you to travel further and stay longer without worrying about running out of power. Whether you’re a seasoned RV enthusiast or a first-time adventurer, installing solar panels on your RV can make your trip more enjoyable, efficient, and cost-effective. Prepare to explore the captivating realm of RV solar panels! In this article, we’ll cover everything you need to know about these energy-efficient power sources, from the different types available to the installation process and essential maintenance tips. Whether you’re a seasoned RV traveler or a first-timer, understanding the benefits of RV solar panels can make your journey more sustainable, cost-effective, and enjoyable. So, let’s jump right in and explore the amazing possibilities of RV solar panel!
What are RV solar panels?
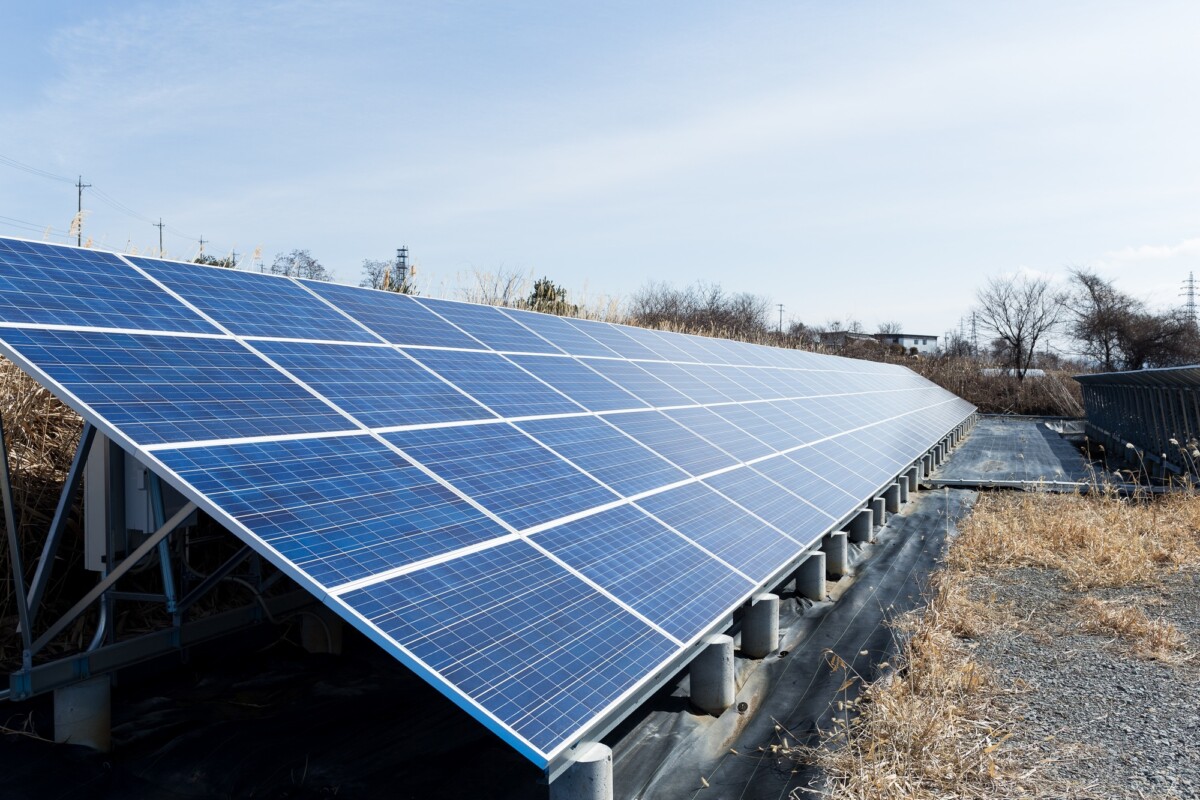
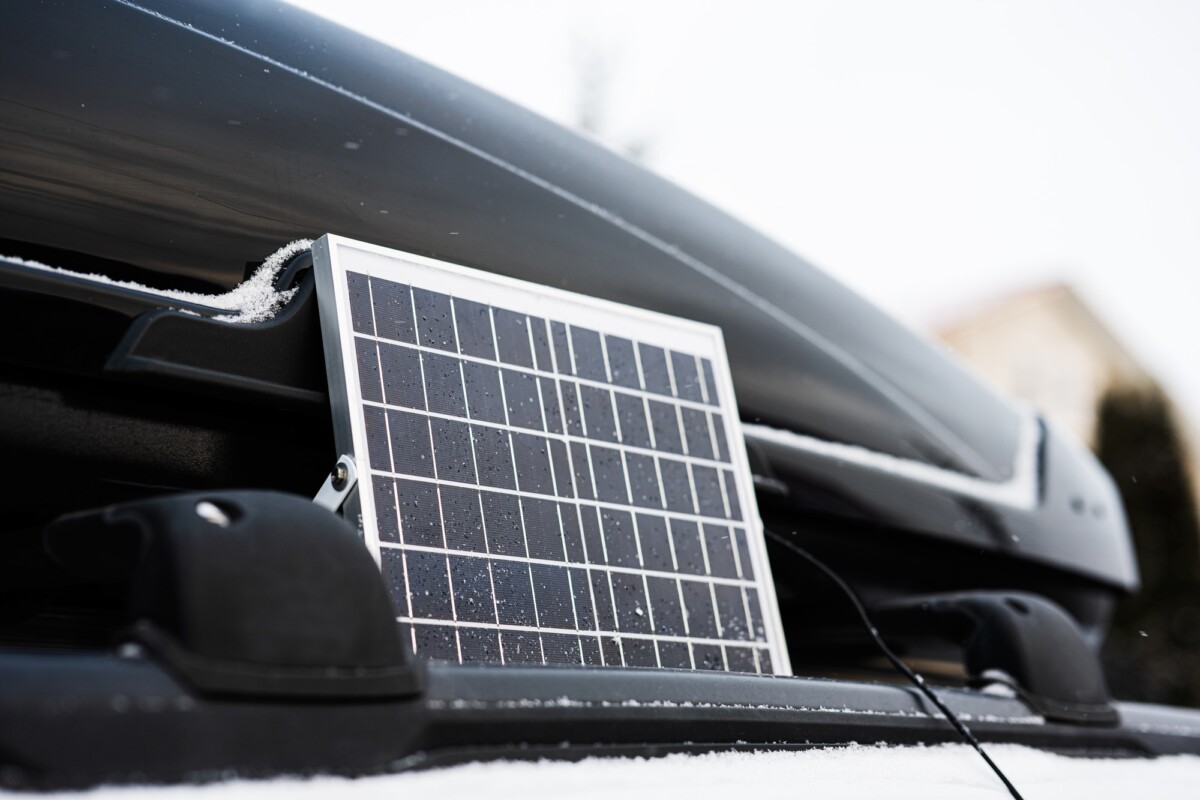
RV solar panels work similarly to commercial and residential panels, but on a smaller, more portable scale. Solar panels collect solar energy and convert it into usable electricity for your RV, motorhome, or camper. You can then use this electric current to power your RV’s appliances, sockets, and lights.
Without solar panels, you will need to use other power sources for electricity, such as campsite hookups or generators. RV solar panels, which rely on renewable energy, are an efficient and environmentally friendly alternative to traditional power resources.
How to hook up solar panels to RV batteries?
The process of connecting solar panels to RV batteries is pretty straightforward. Nevertheless, things can quickly go wrong when it comes to electricity. A single faulty connection can turn a simple task into your worst nightmare.
Therefore, you must carefully read all the instructions and guidelines before you start working on your RV solar power setup. This article aims to provide you with the tools and information you’ll need to get started.
Essential tools required for installing RV solar panel
The following tools are required to install solar panels on RV batteries:
- Solar panels
- A 12-volt deep cycle solar battery
- Voltage Regulator
- Solar inverter
In addition to these essential components, you’ll need electrical tape, a screwdriver, copper wires with clips, and MC4 connectors.
Ways to install solar panels to RV batteries
The simplest way to connect the solar panels to RV batteries is to connect the positive (+ve) wire from the solar panels to the battery’s positive terminal and the negative (-ve) wire to the battery’s negative terminal. The resulting charging circuit will charge the solar battery pack and provide steady power to your RV appliances. Let’s take a look at the five simple steps to install solar panels on RV batteries.
Step 1: Mount the solar panels
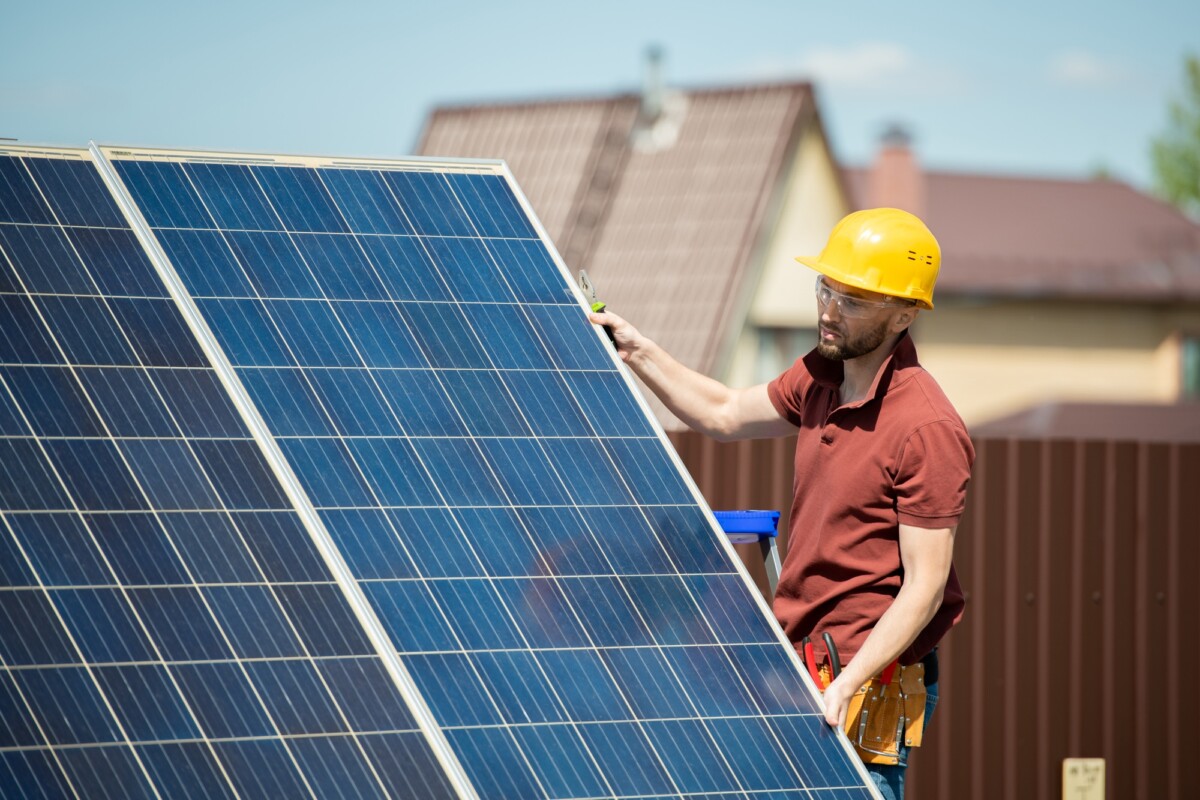
The first step in connecting solar panels with your batteries is to install the solar panels on your RV using the solar panel mounting brackets. It’s crucial to select a location on the RV roof where the solar panel gets the maximum light to produce an electric current.
It’s important to note that some solar panels can be connected directly to RV batteries. However, other types of solar panels will require the installation of a platform on the RV roof. We recommend aluminum railings because they are durable, flexible, and can withstand wind pressure.
To align multiple solar panels, use one of the two wiring options listed below.
- Parallel Wiring
- Series Wiring
In a parallel connection, the negative terminal of the panel is connected and wired to the battery’s negative lead. While in a series wiring, we align the positive terminal of one solar panel to the negative terminal of another panel, which is then connected to a circuit board, as shown in the diagram below.
Step 2: Connect the voltage regulator to the battery bank
After you’ve hooked up the solar panels, it’s time to connect the battery terminals to the charge controller. A charge controller, or voltage regulator, is an essential component of the solar system because it bridges the solar panels with the RV batteries. It’s always an excellent idea to connect the battery with the regulator to avoid a sudden change damaging the regulator.
To connect a solar panel battery to the regulator, take the wires from the positive and negative battery and align them into the input ports on the regulator designated for batteries. Then tighten the screws with pliers or screwdrivers to ensure that the metal wires are safely secured.
Note: Pay close attention to the positive (+ve) and negative (-ve) terminals and make sure they are plugged into the appropriate ports. Remember, a faulty connection can short out your charge controller or battery.
Step 3: Connect the regulator to the RV solar panels
Connecting RV solar panels to the regulator requires MC4 connectors. These long, cylindrical-shaped fittings have male and female sides. If your solar cells don’t fit, you’ll need to attach them to the wires manually. You can obtain MC4 connectors from your local electrical outlets and online stores. They should come with a simple instruction booklet that explains how to connect them to the main cables.
In most cases, the cable attached to the RSV solar panel is typically short and does not reach the regulator. Therefore, you’ll need to measure the length of cable required for the connection manually, keeping in mind that the regulator should be placed near the batteries.
Once you’ve connected the input wires, you need to align the male and female connectors and snap them together. The sound of a ‘click’ indicates that the connectors are safely in place.
Step 4: Double-check the connections to ensure they’re all in good working order
The next step that follows the wiring process is testing the setup and ensuring it is in good working order. Most voltage regulators have digital displays that show the amount of electricity flowing to the battery. Also, check the reading on the display screen to determine if everything is aligned appropriately.
Leave the RV battery plugged in until it’s fully charged. The time it takes to recharge the RV battery depends on several factors, including solar panel wattage, battery size, power consumption, and exposure to sunlight.
At this point, your RV’s panel is ready to power the RV appliances that run on a conventional DC power supply. To run AC-powered electrical devices, you’ll need to add an inverter to the line.
Step 5: Connect a solar inverter to the battery
The primary purpose is to invert or convert the DC power coming from the photovoltaic cells to 110V AC power that your RV can use. After that, connect the RV battery to the solar inverter’s lugs and then to the AC appliances. Once the installation is complete, you can power all your electrical devices, including the RV microwave, TV, and refrigerator.
It is necessary to have a good understanding of the RSV’s solar power components and knowledge of proper wiring. To help you thoroughly understand the photovoltaic cell setup, we discuss solar regulators and their work in the following section.

Solar charge controller or voltage regulator
A solar charge regulator, also known as a controller, is a device that connects the RV solar panel to the battery pack. It controls the flow of current to the battery in the solar system and prevents it from overcharging. Most 100-watt solar cells rated for 12 volts produce around 16 to 20 volts, which may damage a battery if a monitor is not used during the charging process.
Types of voltage regulators
There are primarily two types of solar regulators.
- PWM Voltage Regulator
- MPPT Voltage Regulator
PWM voltage regulator
The PWM (Pulse Width Modulation) regulator is the most common charge controller available on the market. It is less expensive and easier to use than MPPT controllers.
The PWM regulator works by progressively reducing the current flow to the RV battery as it approaches 100% power. The PWM controller maintains a ‘trickle’ state to keep the battery charged.
MPPT voltage regulator
The MPPT (Maximum Power Point Tracking) controller is a more advanced and expensive option for the solar charge controller. Nonetheless, it provides similar switch-like protection as a PWM and reduces the charge going down to the solar panels as it approaches full capacity.
How solar voltage regulators work
Solar charge controllers use a set of operational amplifiers to regulate panel voltage and load current. They have a comparator device to detect the battery state and display it with the help of light-emitting diodes (LED). Also, the controller has a set of LEDs that indicate undercharging, overcharging, and deep discharge conditions.
The regulator uses a MOSFET (metal-oxide-semiconductor field-effect transistor) as a semiconductor switch to prevent overcharging, as shown in the wiring diagram. When the RSV battery is fully charged, the transistor directs the extra power from the solar panels to a dummy load.
Safety tips for RSV solar panel installation
The following information should only be used as a general guide.
- Always read the safety guidelines included with your solar kit before beginning the installation process.
- Don’t step or sit on your solar panels.
- Cover solar panels with a woven fabric or other material, such as the boxes they came in, to prevent them from becoming charged during installation.
- Don’t step or sit on your solar panels.
- Don’t install your solar panels in stormy weather if you are installing them outdoors.
- Avoid touching electrical components of the solar panel like terminals (even indoors) when exposed to light.
Conclusion
While hooking up may not be the most challenging part of installing an RV’s solar panel, it’s still an essential component of the setup. Follow the instructions in this article to connect solar panels to RV batteries and make sure to double-check all the nodes and wiring. Please take all the precautionary measures when you are dealing with electricity procedures. Visit our site, FreeSolarPowerQuotes, for more details and information.

