Solar Panel Roof Mounting Kit: A Complete Guide to Installation and Benefits
Installing solar panels on your roof is one of the […]

By Caleb Morgan
Learn more about Solar Panel Installation and Repair for guides, costs, and what to expect.
Compare Solar Panel Installation and Repair Pros Near You

Enter your ZIP code to compare top-rated local professionals and request free quotes.
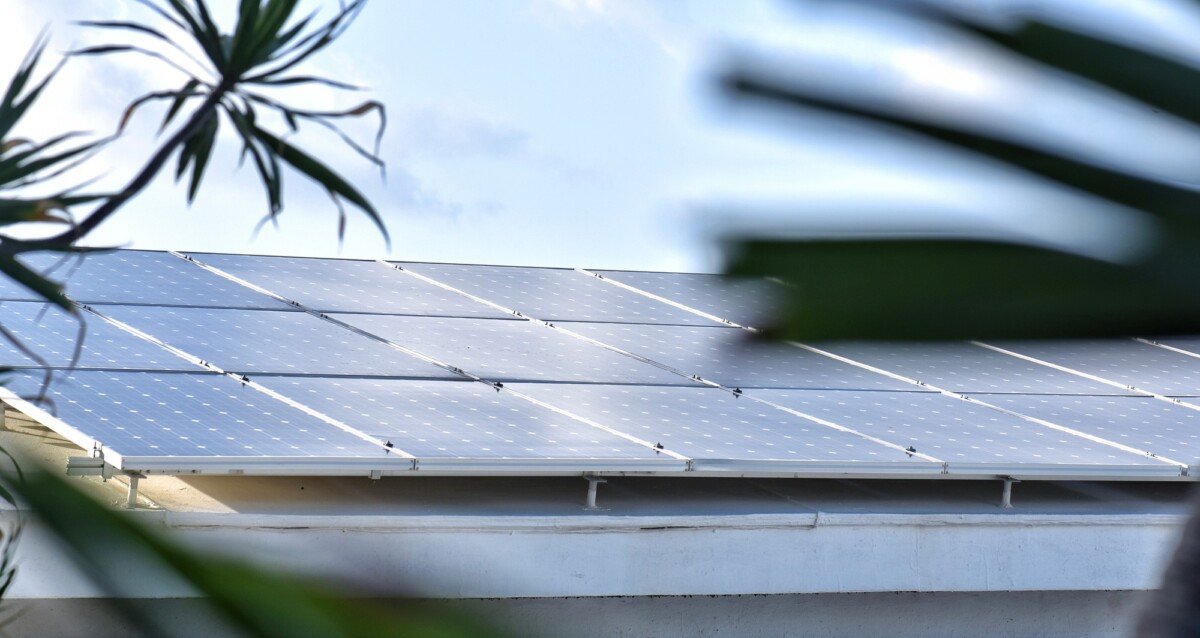
Installing solar panels on your roof is one of the most effective ways to harness solar energy, but to ensure that the panels remain secure and functional for years, you need a quality solar panel roof mounting kit. These kits are essential for mounting solar panels on various roof types, ensuring that the system is both stable and efficient.
In this comprehensive guide, we’ll explore what a solar panel roof mounting kit is, how it works, its components, installation process, and the benefits of using one for your home or business.
What is a Solar Panel Roof Mounting Kit?
A solar panel roof mounting kit is a collection of hardware designed to secure solar panels to the roof of your building. It consists of various components, including brackets, rails, fasteners, and mounting feet, all engineered to ensure the solar panels stay securely in place despite harsh weather conditions. These kits are essential for anyone looking to install a solar energy system on their property, as they provide the infrastructure to hold the solar panels and ensure their proper alignment.
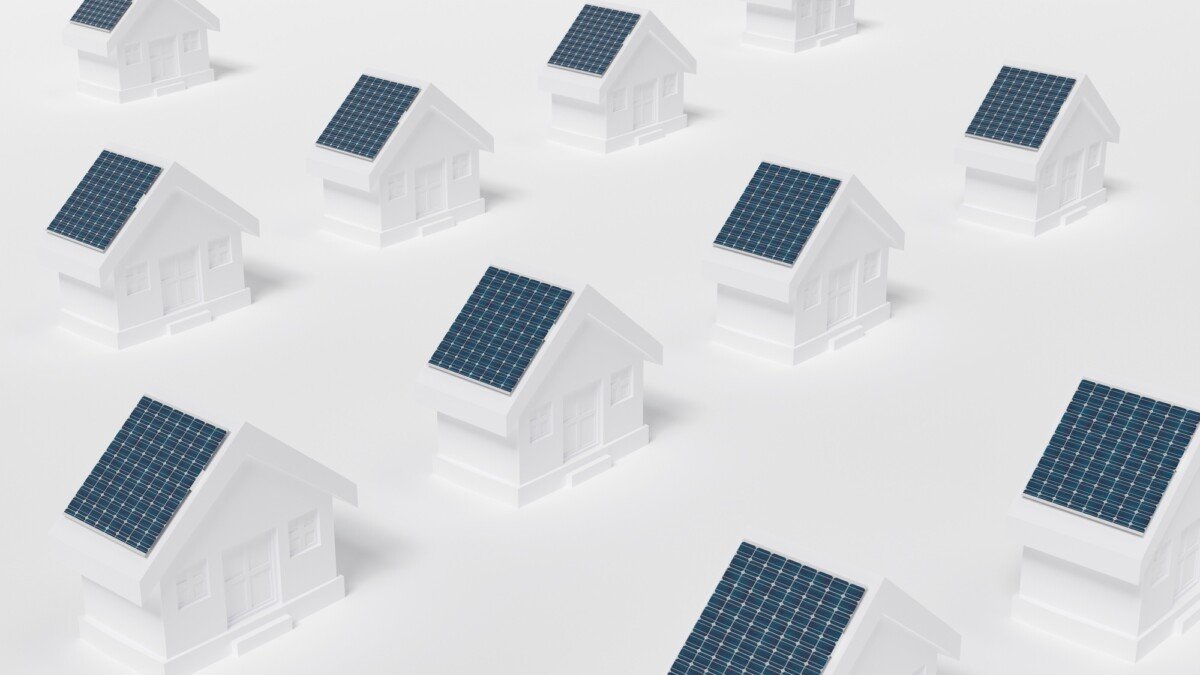
The kit is designed to work with the structural integrity of different types of roofs-flat, sloped, or even metal roofs-providing a flexible solution for solar panel installation.
Components of a Solar Panel Roof Mounting Kit
A typical solar panel roof mounting kit includes the following components:
-
Rails: These long metal bars provide the framework for mounting the solar panels. They are placed across the roof and are where the panels are attached.
-
Roof Mounting Feet: These are the base components that anchor the rails to the roof. They are often designed to fit different types of roofing materials and are secured with bolts or screws.
-
Clamps: Clamps are used to hold the solar panels in place on the rails. They keep the panels securely attached while also allowing for slight adjustments to ensure optimal alignment.
-
Bolts and Nuts: These fasteners are used to connect all the components of the mounting system. High-quality bolts and nuts ensure that the system remains stable and secure over time.
-
Flashings and Seals: Flashings are used to protect the roof from water damage by preventing leaks around the mounting holes. They are typically installed under the roof tiles or shingles.
These components work together to ensure the safe and effective mounting of solar panels.
Ready to make the switch? Discover how solar power can lower your bills and boost your home’s efficiency. Get a Free Solar Estimate at FREE SOLAR POWER QUOTES
Types of Solar Panel Roof Mounting Systems
There are several types of roof mounting systems available, each designed for different roofing materials and types. The most common types include:
-
Flush Mounts
-
Flush mounts are the most commonly used system for sloped roofs. They keep the solar panels close to the roof surface, offering a sleek, low-profile look. They are perfect for asphalt, tile, and metal roofs.
-
-
Tilt Mounts
-
Tilt mounts allow for an angle adjustment of the solar panels. This system is often used for flat roofs or when a higher angle is needed to increase energy production. Tilt mounts can increase solar panel efficiency, especially in regions with lower sun angles.
-
-
Ballasted Mounts
-
Ballasted systems are used for flat roofs where drilling into the roof is not an option. These systems use weight (ballast) to hold the panels in place, rather than bolts or screws. This option is ideal for commercial or large residential buildings.
-
-
Flat Roof Mounts
-
Specifically designed for flat roofs, these systems allow for optimal panel orientation without penetrating the roof. They can include both adjustable and fixed designs.
-
-
Metal Roof Mounts
-
Metal roof mounts are specifically designed for metal roofs and use specialized brackets that attach to the standing seams or the metal surface. These mounts are often the fastest to install since no drilling is required.
-
Benefits of Using a Solar Panel Roof Mounting Kit
1. Enhanced Durability and Stability
The primary function of a solar panel roof mounting kit is to ensure that the solar panels remain secure and stable for years. High-quality materials such as aluminum, stainless steel, or galvanized steel are typically used in mounting kits to withstand weather conditions such as wind, rain, and snow.
2. Weather Resistance
Most solar mounting kits are designed to resist corrosion and rust, ensuring that the system remains functional even in harsh climates. Flashings and seals help to prevent leaks, further protecting your roof from water damage.
3. Flexibility in Installation
Solar panel roof mounting kits are versatile and can be used on various types of roofs, including flat, pitched, and metal roofs. Depending on your roof type, you can choose a mounting system that fits your needs.
4. Easy to Install
While installing solar panels requires expertise, using a solar panel roof mounting kit simplifies the process. Most kits come with detailed instructions, and some manufacturers even provide professional installation services to ensure the panels are mounted correctly.
5. Aesthetic Appeal
Solar panels mounted with high-quality kits tend to look sleek and tidy, which adds to the overall aesthetic appeal of your home or commercial property. Flush mounts, in particular, offer a clean and modern look.
How to Install a Solar Panel Roof Mounting Kit
Installing a solar panel roof mounting kit involves several key steps. While the process may vary depending on the specific kit and roof type, the basic steps are as follows:
-
Assess the Roof and Plan the Layout
-
Before installation, ensure that your roof can support the weight of the solar panels. Plan the layout of the panels to optimize sun exposure and ensure they fit well within the available space.
-
-
Install Roof Mounting Feet
-
Secure the mounting feet to the roof using bolts, making sure they are properly sealed to prevent leaks. The feet are the anchor points for the rails, so accurate placement is critical.
-
-
Install the Rails
-
Attach the rails to the mounting feet. Rails are typically secured with bolts, and alignment is essential to ensure that the solar panels sit correctly.
-
-
Attach the Solar Panels
-
Use clamps to attach the solar panels to the rails. Ensure that the panels are properly aligned and securely fastened.
-
-
Connect Wiring and Electrical Components
-
Once the panels are securely mounted, the electrical connections need to be made. This step requires careful attention to safety standards to ensure the system is correctly wired.
-
-
Test the System
-
After installation, test the system to ensure it is working efficiently. Check for any issues with the panels, wiring, and electrical components.
-
Cost of a Solar Panel Roof Mounting Kit
The cost of a solar panel roof mounting kit can vary widely depending on the size of your solar array, the type of mounting system, and the materials used. On average, the cost for mounting kits ranges from $200 to $500 for residential systems.
Here’s a breakdown of typical costs:
| Mounting System Type | Estimated Cost (Residential) | Notes |
|---|---|---|
| Flush Mount | $200 - $400 | Commonly used for sloped roofs |
| Tilt Mount | $300 - $500 | Best for flat roofs or when angle adjustment is needed |
| Ballasted Mount | $400 - $600 | Ideal for flat roofs, no roof penetration |
| Metal Roof Mount | $250 - $450 | Designed for standing seam metal roofs |
While the mounting kit itself is just a portion of the overall solar system cost, it is an essential component that ensures the long-term efficiency and safety of your installation.
Maintenance of a Solar Panel Roof Mounting Kit
Once installed, a solar panel roof mounting kit requires minimal maintenance. However, it’s essential to inspect the system regularly to ensure everything is in place. Here are some tips for maintaining your solar panel mounting kit:
-
Clean the Solar Panels: Regular cleaning of the solar panels will help maintain their efficiency.
-
Check for Wear and Tear: Inspect the mounting system for any signs of damage, corrosion, or loose fasteners.
-
Examine Seals and Flashings: Make sure that the roof flashings are intact and there are no leaks around the mounting points.
-
Ensure Proper Alignment: Ensure that the panels remain correctly aligned after storms or extreme weather conditions.
Frequently Asked Questions (FAQs)
1. What is included in a solar panel roof mounting kit?
A typical kit includes rails, mounting feet, clamps, bolts, and fasteners, along with flashings and seals for weatherproofing.
2. Can I install a solar panel roof mounting kit myself?
Yes, if you have the necessary tools and expertise. However, it’s recommended to hire a professional installer to ensure everything is correctly set up.
3. Do I need a roof inspection before installing solar panels?
Yes, it’s important to assess the structural integrity of your roof to ensure it can handle the weight of the solar panels.
4. How do I choose the right mounting system for my roof?
Consider factors such as roof type (flat or sloped), material (asphalt, tile, metal), and sun exposure. Consult with a professional for the best advice.
5. How long will a solar panel roof mounting kit last?
Most solar mounting systems are designed to last 20-30 years, depending on the materials used and the maintenance provided.
Conclusion
A solar panel roof mounting kit is essential for securing your solar panels and ensuring that your solar energy system performs efficiently over time. With a range of mounting options available, these kits offer flexibility for different roof types and climates. By choosing the right system and installing it correctly, you can enjoy the benefits of solar energy for many years to come.
Join the solar movement today! Thousands are already saving-claim your free consultation to get started. Schedule Your Free Consultation at FREE SOLAR POWER QUOTES
Interested in more options? Take a look at SOLAR ENERGY for tailored solar solutions that suit your home!
Learn more about Solar Panel Installation and Repair for guides, costs, and what to expect.
Compare Solar Panel Installation and Repair Pros Near You
Enter your ZIP code to compare top-rated local professionals and request free quotes.