Solar panel mounting brackets are the backbone of any solar energy system, ensuring that your panels stay firmly in place and perform efficiently. Whether you’re installing panels on a roof, wall, or ground surface, the mounting brackets you choose play a critical role in both the short-term and long-term success of your system.
In this guide, we’ll explore the different types of solar panel mounting brackets, how they work, what materials to consider, and how to choose the right system based on your home’s layout and solar goals. We’ll also walk through installation tips, pros and cons of different systems, and answer common questions homeowners have about mounting solar panels in the U.S.
What Are Solar Panel Mounting Brackets?
Solar panel mounting brackets are structural hardware components used to secure photovoltaic (PV) panels to various surfaces. These brackets serve as the link between your solar panels and the surface they’re mounted to—typically rooftops or the ground.
Depending on the system design, mounting brackets are responsible for:
-
Withstanding wind loads and weather extremes
-
Ensuring the correct tilt angle for maximum sunlight exposure
-
Enabling ventilation behind panels for cooling
-
Preventing damage to both the panels and mounting surfaces
Mounting brackets are generally made from durable materials like aluminum or stainless steel, which provide corrosion resistance and long-lasting structural support.
Types of Solar Panel Mounting Brackets
There are several types of mounting brackets designed for different installation styles and surface types. Below are the most commonly used bracket systems:
1. Roof Mounting Brackets
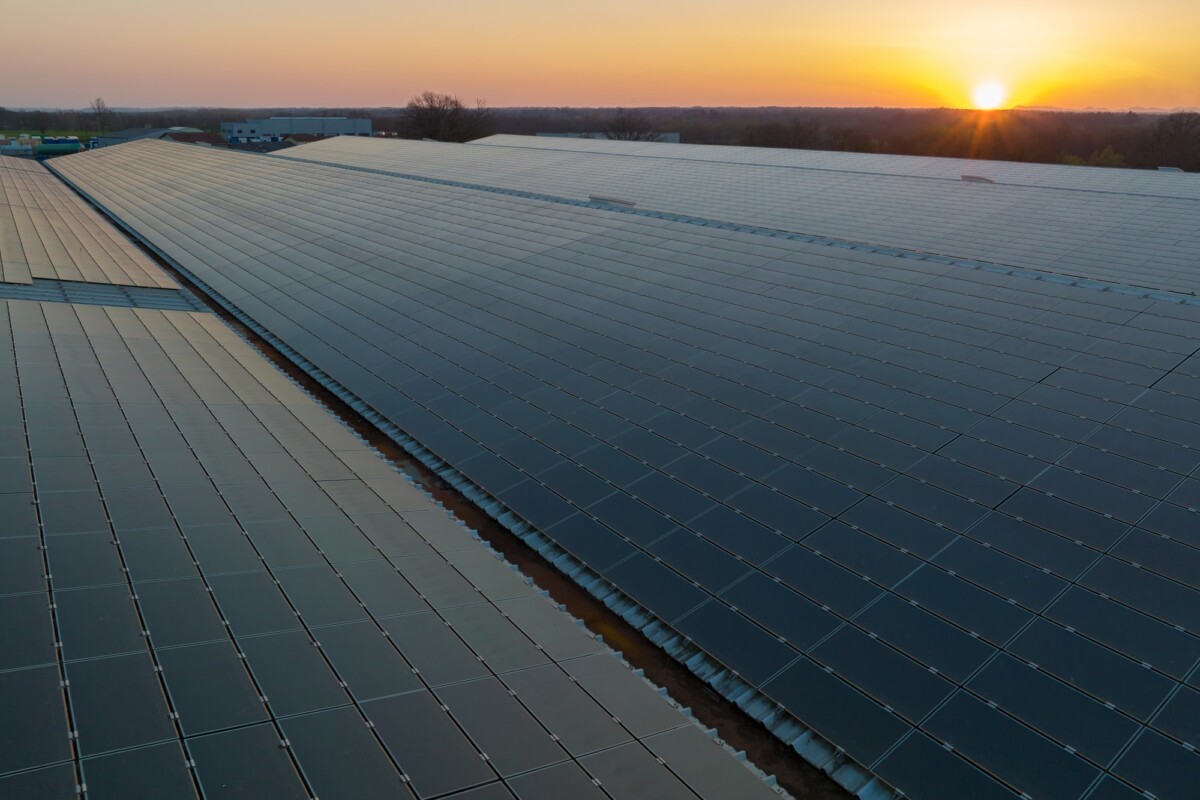
Roof-mounted solar panels are the most popular option for residential systems. The brackets for these systems are designed to attach to your roofing structure without compromising its integrity.
Subtypes include:
-
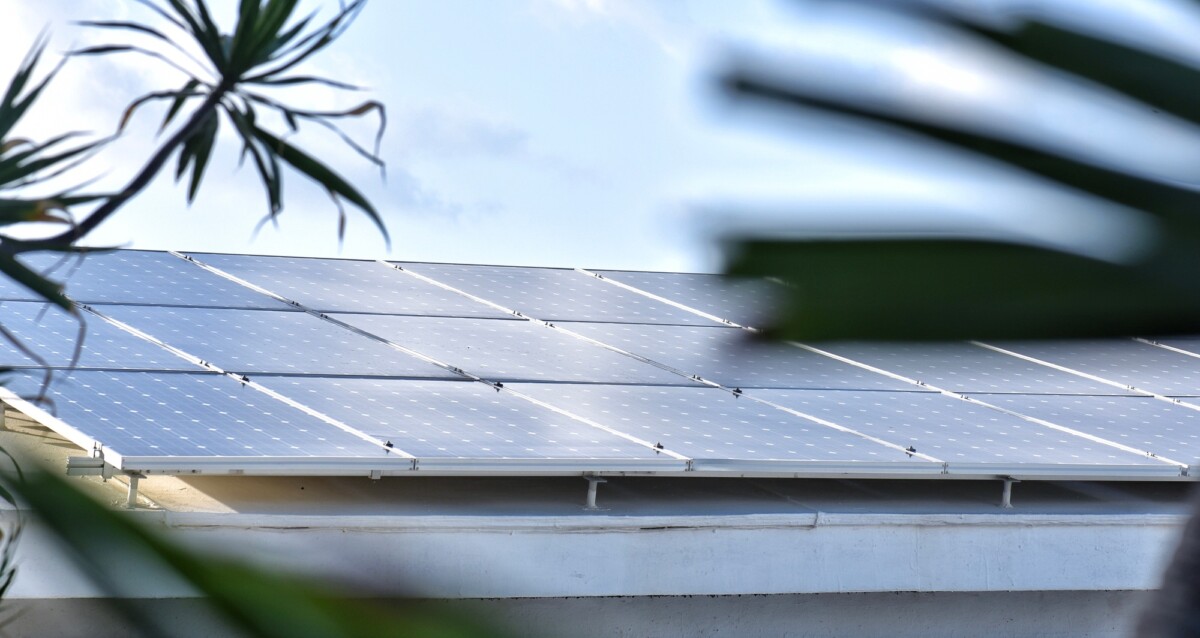
Flush Mounts: Hold panels parallel to the roof’s surface. These are ideal for pitched roofs and are the most cost-effective option.
-
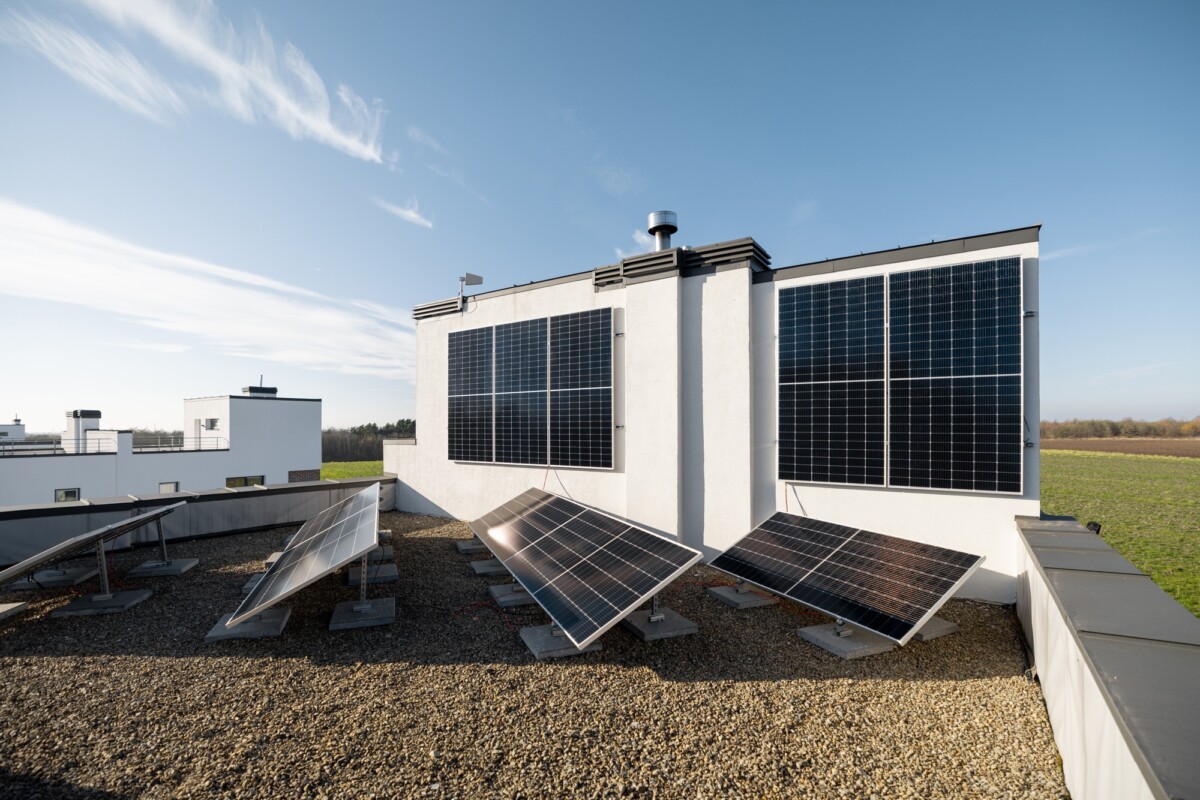
Tilt Mounts: Allow panels to be angled for better sun exposure. Useful on flat roofs or in areas where optimal tilt is necessary to maximize energy output.
-
Rail-less Mounts: Newer systems that don’t require mounting rails. These simplify installation and reduce costs but are less adjustable.
2. Ground Mounting Brackets
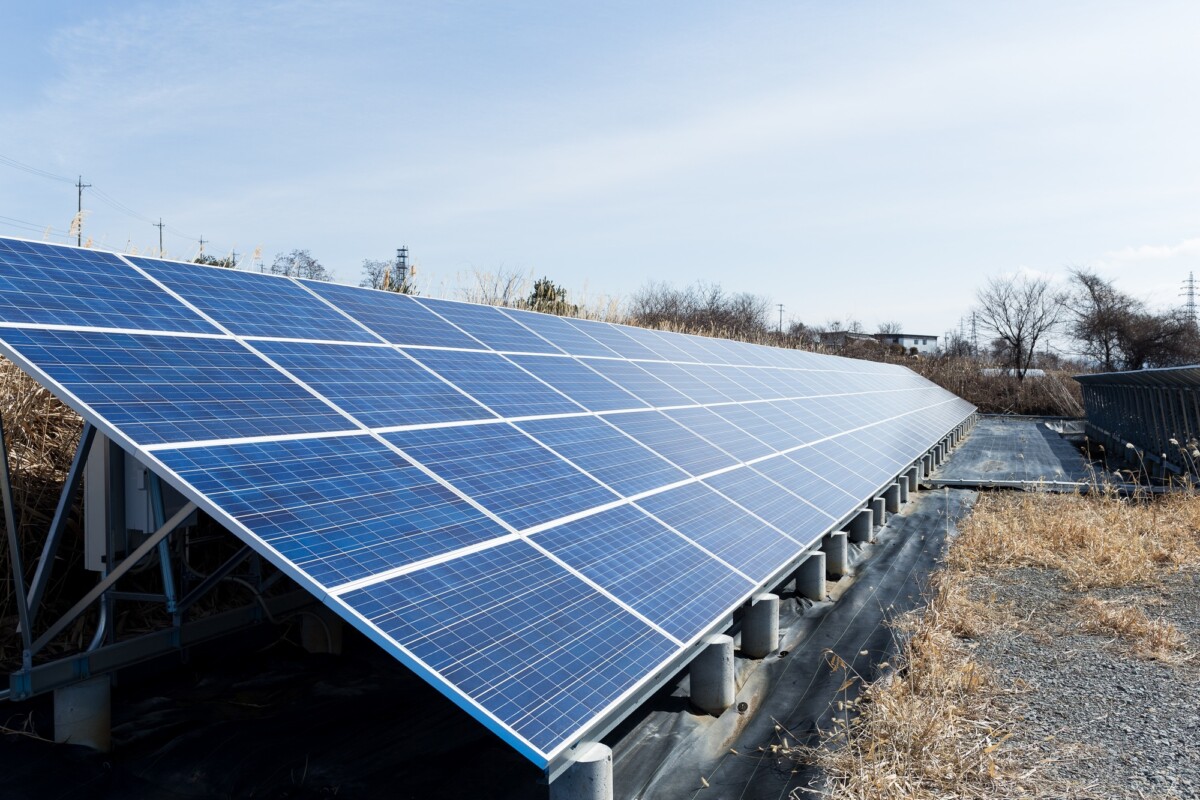
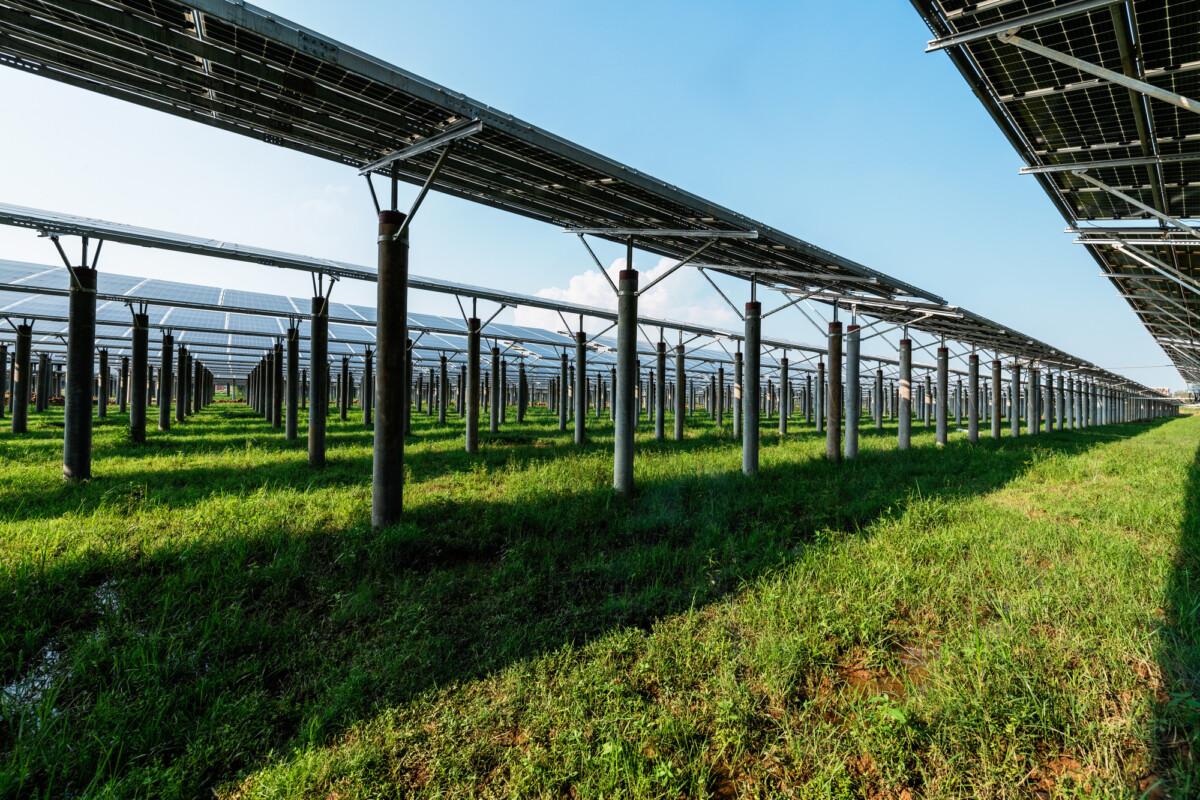
When roof space is limited or unsuitable, ground-mounted systems are a great alternative. These brackets are secured into the earth, often using concrete footings or driven piles.
-
Fixed Tilt Ground Mounts: Panels are set at a fixed angle. Easy to install and maintain.
-
Adjustable Tilt Mounts: Allow seasonal angle adjustments to improve solar gain.
-
Pole Mounts: Panels are installed on top of a single pole, either fixed or tracking. They take up less ground space and can follow the sun if motorized.
3. Wall Mounting Brackets
Though less common, wall-mounted solar brackets are used on buildings where roof and ground space are not viable. They are typically installed vertically and may be used for both residential and commercial setups, especially in urban environments.
Importance of Choosing the Right Brackets
Using the appropriate solar panel mounting brackets is crucial to the success and safety of your solar installation. The wrong brackets can lead to:
-
Reduced panel efficiency due to poor positioning
-
Structural damage to your roof or property
-
Loosening or detachment in high wind or heavy snow
-
Difficulty obtaining permits or passing inspection
A well-chosen bracket system will ensure optimal sun exposure, structural integrity, and a long operational life for your solar panels. It will also make maintenance easier and more cost-effective.
Materials Used in Solar Mounting Brackets
Most solar panel mounting brackets are made from one of two materials: aluminum or stainless steel. Both offer benefits depending on your climate, budget, and installation type.
Aluminum:
-
Lightweight, easy to transport and install
-
Naturally corrosion-resistant
-
Ideal for rooftops with limited weight capacity
-
More affordable but may require thicker sections for the same strength
Stainless Steel:
-
Extremely strong and durable
-
Best for high-wind or coastal areas
-
More resistant to rust and corrosion
-
Typically more expensive and heavier
Galvanized steel is sometimes used for larger commercial installations, but it’s less common in residential applications due to the weight and rust potential over time.
Ready to make the switch? Discover how solar power can lower your bills and boost your home’s efficiency. Get a Free Solar Estimate at FREE SOLAR POWER QUOTES
Factors to Consider When Selecting Mounting Brackets
Before buying or installing any solar panel mounting brackets, consider the following factors to ensure compatibility and safety:
1. Roof Type and Structure
Different roofing materials—such as shingles, tile, metal, or flat roofs—require specific mounting brackets and attachment methods. Some brackets are designed to penetrate the roof, while others use ballasted (non-penetrating) systems ideal for flat roofs.
2. Local Building Codes and Permits
Each municipality may have different requirements for structural load, wind ratings, and fire safety. Always verify that your chosen brackets comply with local regulations and get proper permits before beginning installation.
3. Snow and Wind Load Ratings
In regions prone to heavy snow or high winds, ensure your brackets are rated for these environmental conditions. Brackets should be tested and certified for uplift resistance and structural performance.
4. Tilt Angle and Orientation
Your location’s latitude determines the best tilt angle for your solar panels. Brackets should allow for either fixed or adjustable angles depending on how you want to optimize performance.
5. Warranty and Certification
Look for brackets that come with at least a 10–25 year warranty and have UL or TÜV certifications, which demonstrate product quality and safety.
Table: Roof Mounting Brackets by Roof Type
| Roof Type | Recommended Mounting Bracket | Penetration Required? | Tilt Adjustable? |
|---|---|---|---|
| Asphalt Shingle | Flashing with L-Foot Mounts | Yes | Optional |
| Metal Seam | Clamp-on Mounts (no penetration) | No | Yes |
| Tile Roof | Tile Hook Mounts | Yes (careful install) | Optional |
| Flat Roof | Ballasted or Tilt Mounts | No | Yes |
Installation Best Practices
Proper installation of solar panel mounting brackets is critical not only for performance but also for your roof’s integrity and your system’s safety. Here are key steps and tips:
Pre-Installation:
-
Conduct a structural analysis of your roof or installation site
-
Obtain local permits and meet all code requirements
-
Use manufacturer-specific instructions
-
Wear appropriate safety gear and use roof anchors if working on sloped roofs
During Installation:
-
Secure brackets into rafters or load-bearing supports
-
Apply flashing to prevent water intrusion
-
Torque bolts to recommended specifications
-
Verify alignment and spacing before mounting panels
Post-Installation:
-
Inspect for any roof damage or exposed gaps
-
Ensure all brackets are tight and properly grounded
-
Check tilt and orientation accuracy
-
Perform a test run of the system under sun exposure
While DIY installations are possible, working with a NABCEP-certified installer can ensure long-term reliability and code compliance, especially for roof penetrations.
Cost of Solar Panel Mounting Brackets
The cost of mounting brackets depends on the type, material, and brand. Here’s a general breakdown:
-
Roof Mount Kits: $150 – $600 (for a 4–6 panel system)
-
Ground Mount Systems: $500 – $2,500 (more labor and materials)
-
Pole Mounts: $300 – $1,500 per pole setup
-
Ballasted Mounts (Flat Roof): $250 – $900
Installation labor can add an additional $0.10–$0.50 per watt if not DIY.
FAQs
What is the best type of mounting bracket for my roof?
It depends on your roof type. For shingle roofs, L-foot mounts with flashing are common. For metal roofs, clamp mounts work best without drilling holes.
Do solar mounting brackets damage the roof?
When installed properly with flashing and sealants, mounting brackets will not damage your roof. They are designed to be watertight and secure.
Can I install mounting brackets myself?
DIY installation is possible for experienced homeowners, especially on ground mounts or simple shingle roofs. However, professional installation is recommended for safety and code compliance.
How long do solar mounting brackets last?
Most brackets last 25 years or more, in line with the lifespan of solar panels. Choose brackets with warranties and corrosion-resistant materials.
Are mounting brackets included in solar kits?
Yes, most solar panel kits include mounting hardware. However, always confirm compatibility with your roof type and desired configuration.
Final Thoughts
Solar panel mounting brackets may not be the flashiest part of a solar system, but they are one of the most important. The right brackets will keep your panels secure, ensure optimal energy production, and protect your property from structural issues. Whether you’re planning a roof mount, ground installation, or pole setup, taking the time to choose quality brackets will pay off in long-term performance and peace of mind.
Invest in brackets that meet your home’s structural needs, local regulations, and environmental conditions. For homeowners in the U.S., where solar energy is rapidly expanding, choosing the right mounting hardware is an essential step toward energy independence and sustainable living.
Join the solar movement today! Thousands are already saving—claim your free consultation to get started. Schedule Your Free Consultation at FREE SOLAR POWER QUOTES
Interested in more options? Take a look at SOLAR ENERGY for tailored solar solutions that suit your home!

